Welcome! We build, maintain, and optimize websites.
We help your organization soar to new heights.
Website Design and Development
HyperArts specializes in the design and development of websites that harness the power and flexibility of the WordPress CMS platform. Once we launch your website, we are always here when you need us. We want to be your long-term partner!
WordPress Care Plans
After a WordPress website is built, it needs continued care to keep it backed up, secure, and available. We provide plans to keep your websites updated and available for your visitors.
Taking your Website to the Next Level
Many clients come to us with a website built by another agency that needs some updates or new features added. We enjoy “adopting” websites and showing them some love.
We’re a full-service WordPress development agency with 20 years of experience. Let's discuss how we can help with your website!
Strategy & Discovery
Every successful website project starts with a solid plan. We work with you to find exactly what you need on your website and how we can efficiently deliver it.
Website and Logo Design
Our refined design process allows us to explore your desired design direction, and then create a custom design for your website that will showcase your products or services.
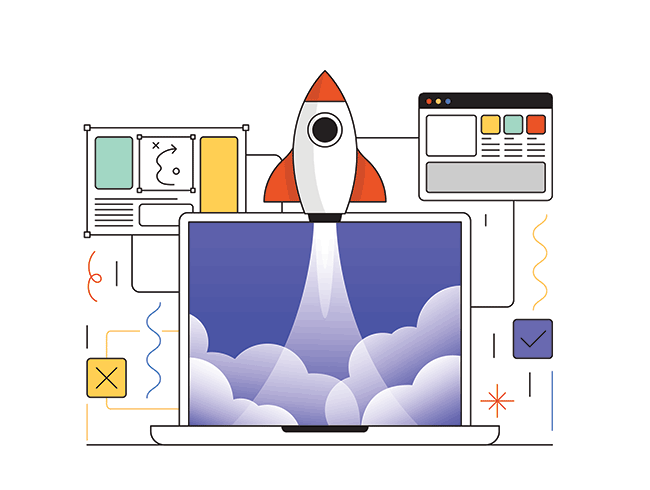
WordPress Development
Once we have a plan and design in place, we will begin the development of your WordPress website. We will meet regularly so that you can review progress as the site is developed.
Copywriting Services
Need help writing content for your website? We have an interview-driven process to help you create great copy.
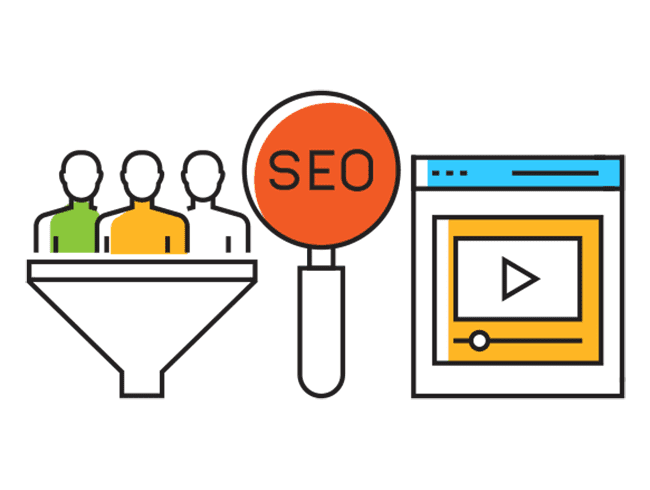
SEO Friendly By Design
Every new website that we build follows best practices to optimize your website for appearing in search engines.
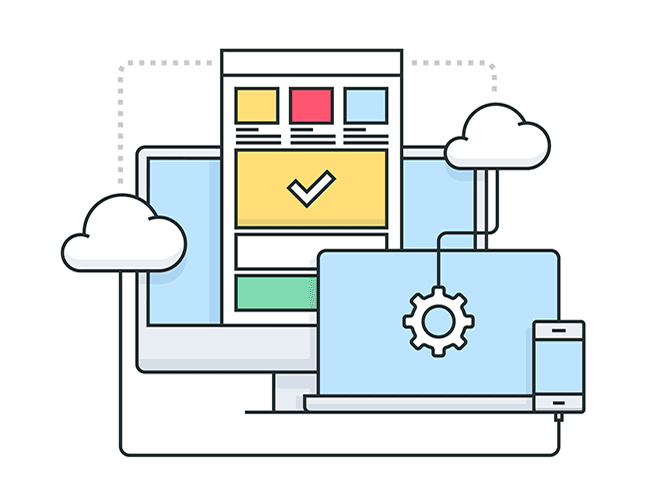
Web Application Development
We also build web-based applications. We have created many sites that display information in highly interactive tables, on maps, and with powerful searching and filtering systems.
API Integrations
We have done many custom API integrations with other systems such as Salesforce, Mailchimp, Constant Contact, Pardot, Marketo, and several payment gateways.
Website Accessibility Consulting
Website accessibility has become an increasingly important topic for all websites. We offer services to increase the accessibility of your website in accordance with standards such as WCAG and ADA.
Speed Optimization Services
We offer services that make your website faster – improving usability, Google Page Speed, and Core Web Vital scores.
WordPress Multisite Network
If you have multiple WordPress sites that need to share a common theme, WordPress Multisite may be the solution.
Featured Clients